Setting up your Poultry Pro Feeders and Waterers is quick and easy! Follow this guide to ensure your flock is well-fed and hydrated in no time.
Tools Needed:
- None! The Poultry Pro products are designed for simple, tool-free assembly.
Step 1: Unpack Your Feeder and Waterer
- Carefully remove all components from the box.
- Double-check the contents to ensure all parts are included:
- Feeder body and lid
- Waterer base and reservoir
- Any additional attachments (if applicable)
Step 2: Assemble the Feeder
- Attach the Feeding Ports:
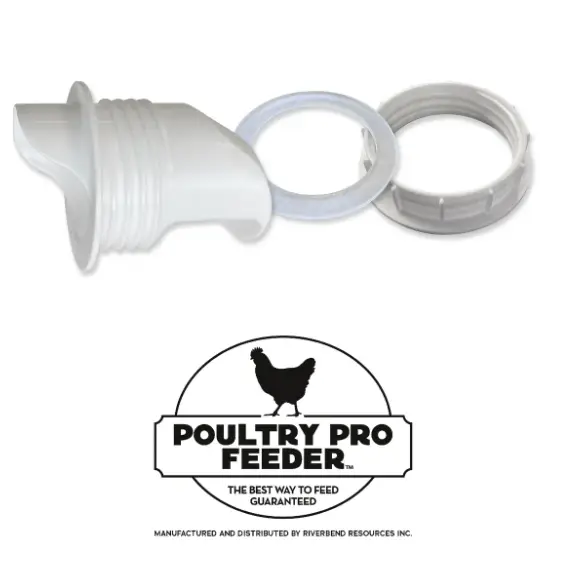
- Insert the feeding ports into the pre-cut holes on the feeder body.
- Ensure they snap securely into place.
- Secure the Lid:
- Place the lid on top of the feeder body to keep feed fresh and prevent moisture.
- Fill with Feed:
- Pour your flock’s favorite feed into the feeder, avoiding overfilling.
Step 3: Assemble the Waterer
- Connect the Base:
- Align the water reservoir with the base and twist until it locks securely.
- Fill with Water:
- Turn the reservoir upside down, remove the cap, and fill it with fresh water.
- Replace the cap tightly and turn the reservoir upright.
- Check Water Flow:
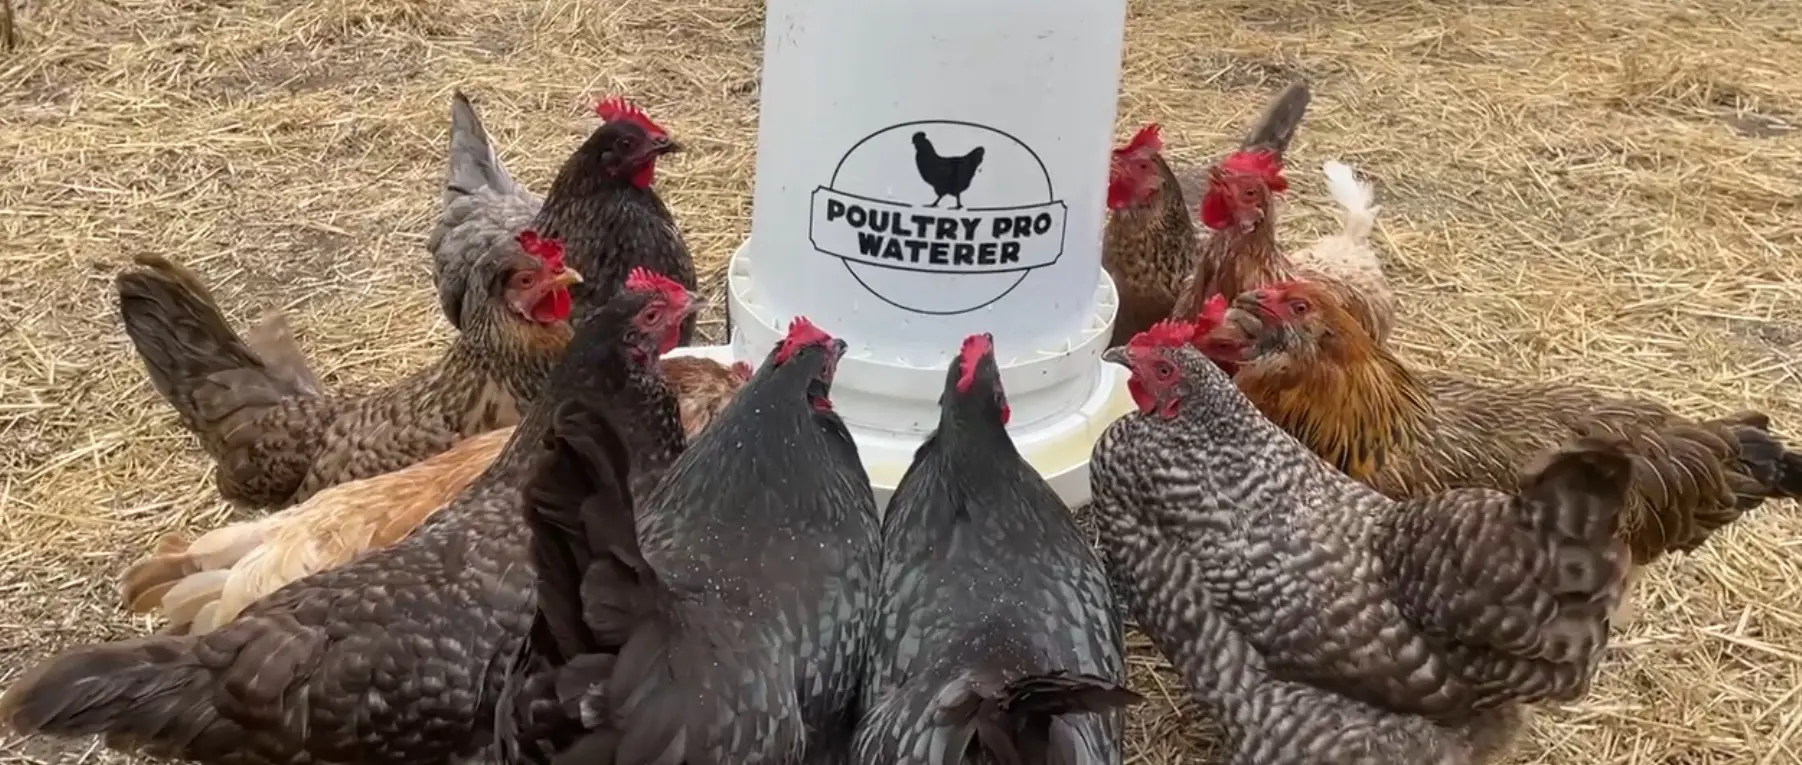
- Ensure water flows into the base properly, creating a steady supply for your flock.
Step 4: Placement Tips
- Position the feeder and waterer in a shaded, dry area to protect them from the elements.
- Elevate them slightly off the ground to prevent contamination from dirt or bedding.
Step 5: Maintenance
- Clean the feeder and waterer weekly with warm, soapy water to maintain hygiene.
- Refill as needed to ensure your flock always has access to food and water.


